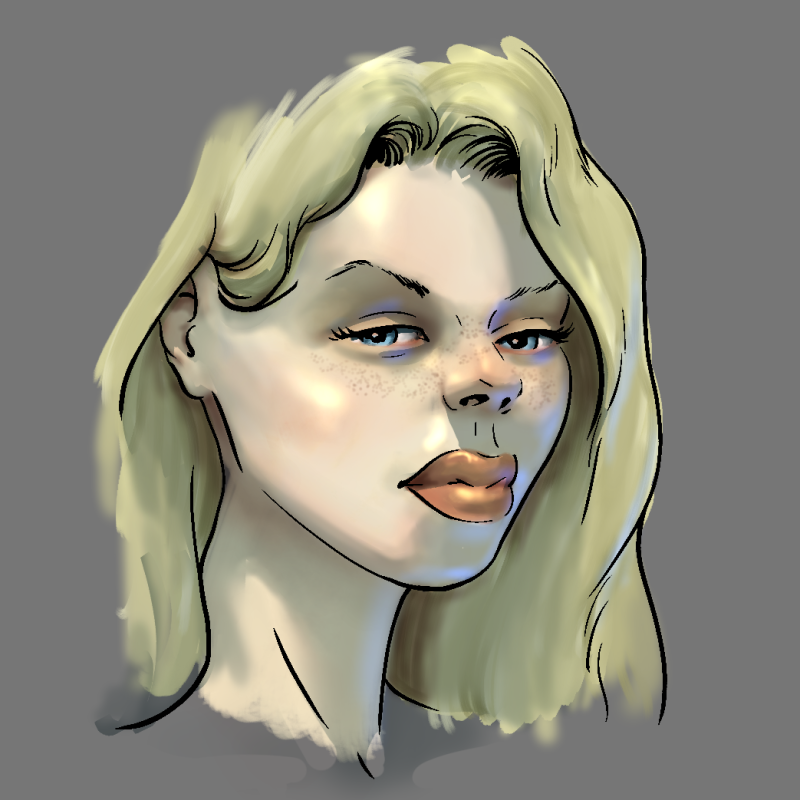
Painting with Ambient Occlusion and Sub Surface Scattering
Wed, 30 Dec 2015
 After reading this formidable tutorial by Johannes Helgeson, I added some layers to my layer stack.
When using this makes sense
For sketching purposes I am usually only using two or three layers, for the sake of speed. Same goes for a lot of digital painting. Using an extensive layer stack there can prevent “happy accidents”, which you might want to happen. Imagine a mixed colour doesn’t look like you intended, but seeing it right there might trigger an idea what else could look good. In my opinion serendipity is real in this field, but this experimental approach is only appropriate when time isn’t an issue.
However, if you need something directable (think: commissions) the massively layered approach can save a lot of time.
Painting for Directability
I am not too sure if I really need the sub surface scattering approach Helgeson is using, but I think I will stick with the ambient occlusion layering.
If you haven’t heard about ambient occlusion take a look at this wikipedia-article. The concept stems from 3D-Rendering and makes sense for 2D as well. It gives you a sort of a seperate z-direction scaling ability. Using the opacity slider and blend mode variation you can easily influence the depth of the relief. This makes plasticity issues manageable.
Software Issues
Helgeson used Photoshop for the tutorial. Still, if you are using Clip Studio Paint (like me), you can work in a similar fashion. If you want to have a look at my file, you can download the zipped lip-file here:
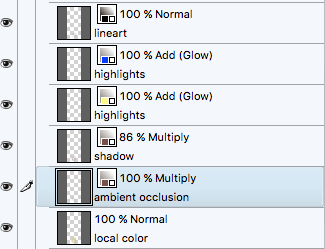
The single layers of this quick test are looking like this:
The six layers above are all greyscale layers with colour effect, except for the local color layer (the lights layer are actually two different greyscale layers). You can set this behaviour in the layer property window. This is one of my favourite features of csp. It helps you to easily modify the overall look of the image and fit it more to your clients liking – extremely fast. Thus saving you a lot of time and mental energy.
In the layer window my layer stack looks like this (with blendmodes).